Monday, November 5, 2012

Lookbook: Fall Outfits 2012

Hey everyone! So today I want to post up my first look book which is just Fall inspired outfits and this took me approximately about 2 months for me to come up with 12 outfits. Now your probably thinking, why would it take so long to just take pics and put them up on here, well I've been busy and also I had to take some time to put up together some outfits that are appropriate for school and everyday kind of outfits. So yes! I will also put up where I got each item from and how much it was but some of them are bought just recently and some have been bought like a long time ago. I also re-used some of the outfit pieces a couple times and I'm also not very good at explaining the outfits so sorry about that. Anyways, lets get started!

1) Cozy Chic
  1. Bat sleeve cape hoodie: China, gift
  2. Bandage Skirt: Kohl's, $7
  3. Zebra Tights: F21, $7
  4. Boho Boots: Ross, $80
  5. Earrings: China, gift
2) Sophisticated Chic
  1.  Jersey Shirt: Old Navy, $10
  2. Blazer: H&M, $20
  3.  DIY Folded Jean Shorts: Kohl's, $6
  4. Star Tights: Urban Sheek ,$12 OR Zebra Tights: F21, $7
  5. Oxford Wedges: Kohl's, $15 OR Grey Booties: Old Navy, $13
3) Girly Prep
  1. Black Crochet Dress: American Eagle, $13
  2. Jean Blouse: H&M, gift
  3. Floral Sneakers: Target, $10
  4. Charm Bracelets: Kohl's, $3
4) Girly Cute
  1. Hoodie Dress: Kohl's, gift
  2. Canvas Shorts: J.Crew, gift
  3. Star Tights: Urban Sheek, $12
  4. Floral Sneakers: Target, $10
5) Casual Glam

  1.  Bat Long Sleeves Shirt: China, gift
  2. Skinny Jeans: Kohl's, $12
  3. Grey Booties: Old Navy, $13
  4. Wooly Red Scarf: H&M, $7
6)  Glam Chic
  1. Striped Dress: F21, $12
  2. Rose Tights: F21, $7
  3. Floral Sneakers: Target, $10
7) Boho Chic
  1.  Jersery Shirt: Old Navy, $10
  2. Skinny Jeans: Kohl's, $12
  3. Boho Boots: Ross, $80
  4. Surfer Necklace: gift
  5. Feather necklace: Kohl's, $3
  6. Earrings: Kohl's, $5
8) Sophisticated Glam
  1. Stripe Dress: F21, $12
  2. Sunflower Scarf: unknown, mother's
  3. Color Block Flats: Kohl's, $7
9) Glamor Girl
  1.  Floral Sweetheart Dress: F21, $10
  2. Scarf: Hot Topic, $5
  3. Floral Sneakers: Target, $10
10) Boho Prep 
  1.  Striped Cropped Sweater: Charlotte Russe, $15
  2. White Cami: Kohl's, $2
  3. Black Jeggings: Aeropostale, $20
  4. Boho Boots: Ross, $80
  5. Crystal Bear Necklace: China, gift
11) Casual Smart

  1. Green Blouse: Kohl's, $6
  2. Bandage Skirt: Kohl's, $7
  3. Black Wedges: Unknown, Gift
12) Comfy Chic

  1. Ruffle Pink Tank Top: Kohl's, $16
  2. Striped Grey Cardi: Kohl's, $15
  3. Grey Skinny: F21, gift
  4. Black Boots: Kohl's, $30

Alright so I hope you are inspired by these outfits. I know its probably like ok, looks like any normal kind of outfits but I find that I have a bit of trouble dressing myself...so this is for those who wants some kind of inspiration for those fall outfits and I hope you like these!

Anyways have a great day!

Sunday, October 21, 2012

Update on my life

Hey guys! Sorry I haven't been posting lately but I have been sorta procrastinating on what to upload and certain projects that I have been working on...then stop working on them and then coming back to work on it. BUT I will have a couple more posts coming up so look forward to a:

-Fall Favorites
-Lookbook: Fall Outfits
-Hits and Misses
-Essential Quick Fixes
-My makeup bag
-Getting up in the morning

Alright so basically I'm gonna be sharing some pictures of my past weeks. So a lot has happen for me such as Spirit week, Homecoming, and other stuff and I just feel like that I should share about them to you guys and this includes random stuff, fashion, makeup looks, etc. So enjoy!

Wacky Tacky Day(Spirit Week)
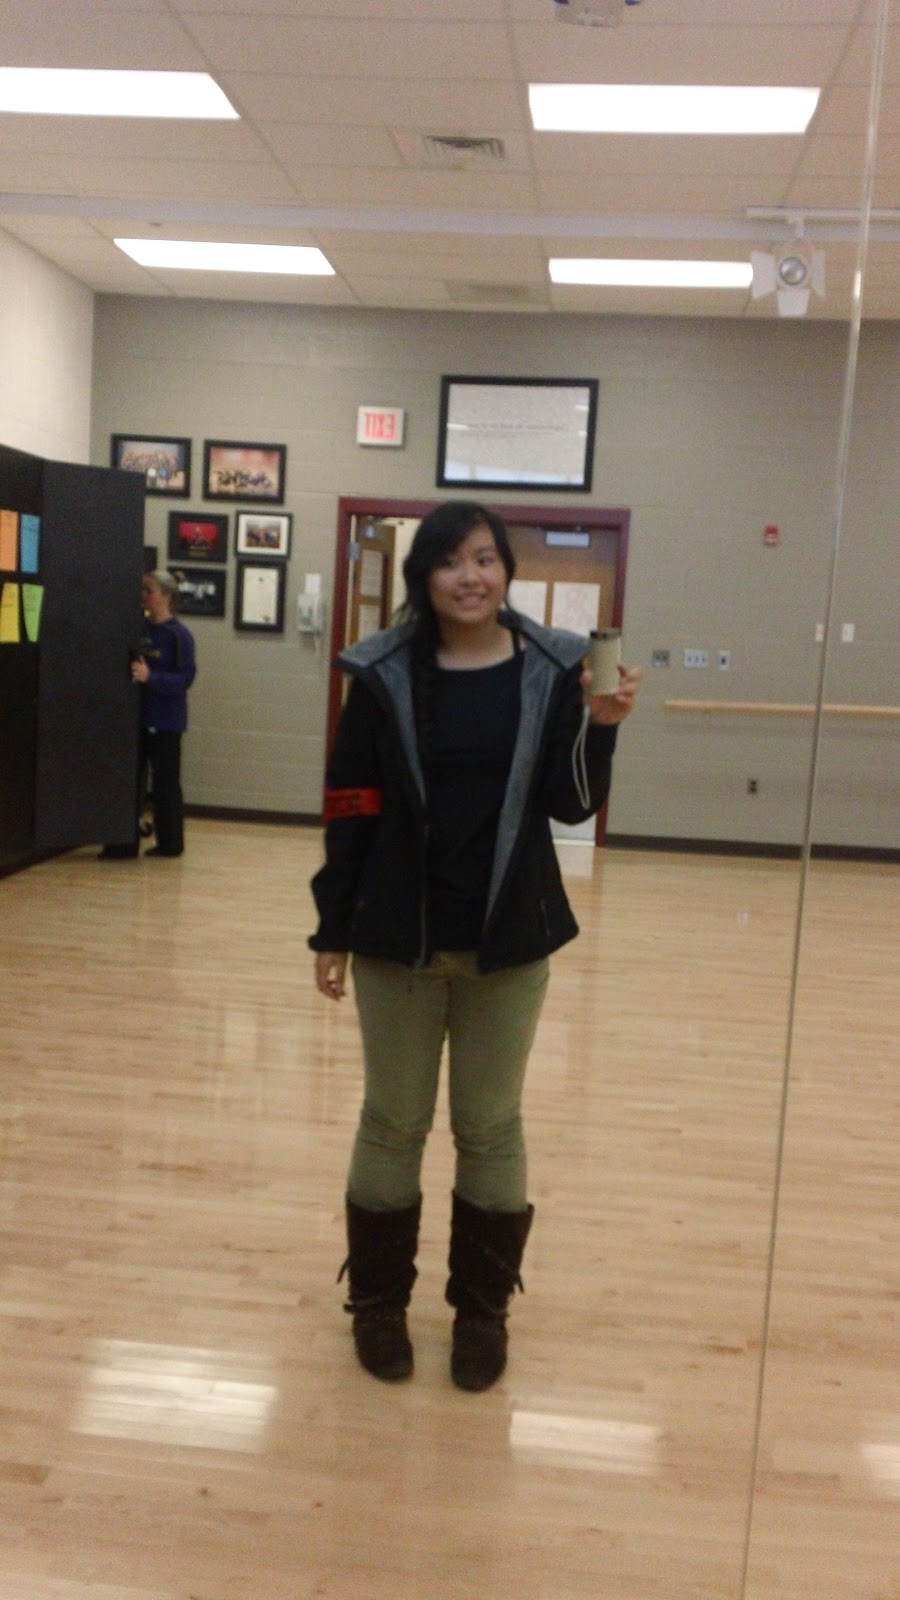
Katniss Everdeen(?)(Spirit Week)
Kimi Finster from Rugrats

My Handprint
Senior Tailgate
Like my face? Lol
My Homecoming Dress
Homecoming Makeup
Homecoming Dress

My Homecoming nails


Lace Inspiration
Lace Detailing

Thumb Lace details


I did my friends nails <3 its Rose Inspiration

My friend's nail
 Alright so hopefully that shows you how I have been these past weeks. But yes! Expect some posts soon! Like really soon :)

Bye loves!!


Saturday, September 29, 2012

City Lights(Nail Tutorial)

Hello!!
So it's been a while since my last post and today I will be showing you this great nail tutorial that is absolutely pretty. I was inspired by city lights that illuminate the sky at night and I just had to share it with you! I also have a video tutorial right below, so check that out too!


Alright so lets start with the materials and nail polish colors that are needed for this!
(From L-R) Maybelline Color Show in #20 Styled Out, Rimmel London #370 Wild Orchid, Milani in #22 White on the Spot

Sally Hansen Nail Art Pen in Pearly White & Blue, 1 Index Card, eyeshadow applicator(or sponge), toothpick
Alright LET'S START!!

Step 1: First apply a base coat on the nails and then apply a dark blue (I'm using Maybelline Color Show in #20 Styled Out) as the base color. Let dry COMPLETELY.
Step 2: Next take a lilac purple(I'm using Rimmel Lasting Finishing Pro in #370 Wild Orchid) and drop some nail polish on the index card.  Then taking one side of the sponge, dip it the polish, blot a little on the paper, and slowly dab it on the nail, STARTING from the top and gradually working your way down to the middle of the nail. Make sure the color FADES as you dab it towards the middle of the nails.

Step 3: Then take a white nail polish(I'm using Milani Nail Lacquer High Speed fast Dry in #22 White on the Spot), drop some polish on the paper, and using another side of the sponge, dip it on the nail polish, blot some on the paper, and gently dab it on the nail, STARTING at the top and working about 1/3 of the way down. Make sure the tip of the nail is the strongest and fades as it gradually goes down.

Step 4: Apply a top coat. Let dry completely!
Step 5: Then shake the nail art pens and dispense some nail polish from the pen onto the index paper. Take the toothpick, and carefully draw a star(like the one from Peter Pan and shown below).

Make sure that the white star is on the dark colors of the nail and the blue star is on the white nail polish part of the nail. Then draw white dots on the dark colors and blue dots on the white part of the nail. Apply top coat by DABBING it on, not smoothing it over(otherwise the art is ruined) and your done!!


So if you didn't realize, but I alternated between the colors from fading upwards(Thumb,middle finger, and pinky) and fading downwards(point finger and ring finger). So you can do that or just do it One Direction(haha did you see what I just did there?! Hee hee).

Anyways hope you like this tutorial and send me pics of your version of this nail look.


HAVE A GOOD DAY!! :)


Sunday, September 16, 2012

Edgy Ombre Effect for Eyes

Hello guys! Its been so long since my last post. I've just been busy with school and finishing up some homework and projects.


So today, I will be showing you how to achieve this ombre look using only eyeliners. It's an EASY look that will have many people asking how did you do it and how awesome it looks.This is a great look to spice up your everyday makeup without spending too much time in front of the mirror, I know it is since it only took me about 5-8 minutes to do this.

By the way, I took a lot of pictures for this look and I took them on different days, so sorry if it looks weird or anything.

Alright so first start off with 2-3 colors or more of the same color family or you can have more variety of colors from the same color family. Here, I am using a light green, green, and forest green for my look.

Covergirl Liquiline Blast in Green Glow(TOP), Styli-Style Line&Seal 24 Twist in #172 Emerald(MIDDLE), Milani Shadow Eyez in #04 Green Safari (BOTTOM)

 Step ONE: Start off, lining your eyes with black eyeliner. I prefer to wing it out but its all up to you.

Step TWO: Alright, so now to start off with the lightest color of the color group and line ONLY the inner rim of the eye on top of the black eyeliner. Here I am using Covergirl Liquiline Blast in Green Glow.


Step THREE: Then using a middle color, or the color that is in between the darkest and lightest color of the bunch, and line only the MIDDLE part of the eyes. Here I am using Milani Shadow Eyez in #04 Green Safari.


Step FOUR: Use the darkest color of the bunch and line the outer part of the eyes. Here I am using Styli-Style Line&Seal 24 Twist in #172 Emerald


Step FIVE: After that use a smudging tip and just blend the colors together and do it LIGHTLY otherwise it will either fade or look like a hot mess. And your DONE!!


You can create different type of looks, be is ombre or just a single color and it will still look edgy. Here are some more pictures that you can create with:

Blue Ombre(very subtle)


Single Colors(OPENED EYES)

Single Colors(CLOSED EYES)

Alright hope you like this look and I hope that you sport this look in school or at work or anywhere. If you can, share this look with me and let me see your take on this look.

THANK YOU SO MUCH and I'll see you guys soon!!